Installing embedded metal conduit in a concrete slab is a crucial process in many construction projects, especially those that require a reliable and long - lasting electrical or communication wiring system. As a trusted supplier of embedded metal conduit, I am here to guide you through the step - by - step process of proper installation.
Planning and Preparation
Before you start the installation, thorough planning is essential. First, you need to have a clear understanding of the layout of the wiring system. Determine the locations where the conduits will be placed, taking into account the future electrical or communication needs of the building. This includes identifying the positions of outlets, switches, and other connection points.
Create a detailed plan that shows the routes of the conduits. Make sure to consider any obstacles such as structural beams or plumbing pipes that may interfere with the conduit installation. Mark these routes on the formwork or the area where the concrete slab will be poured.
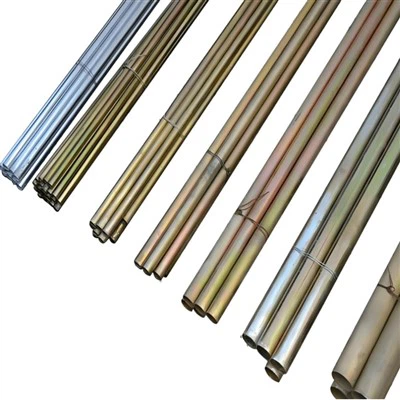
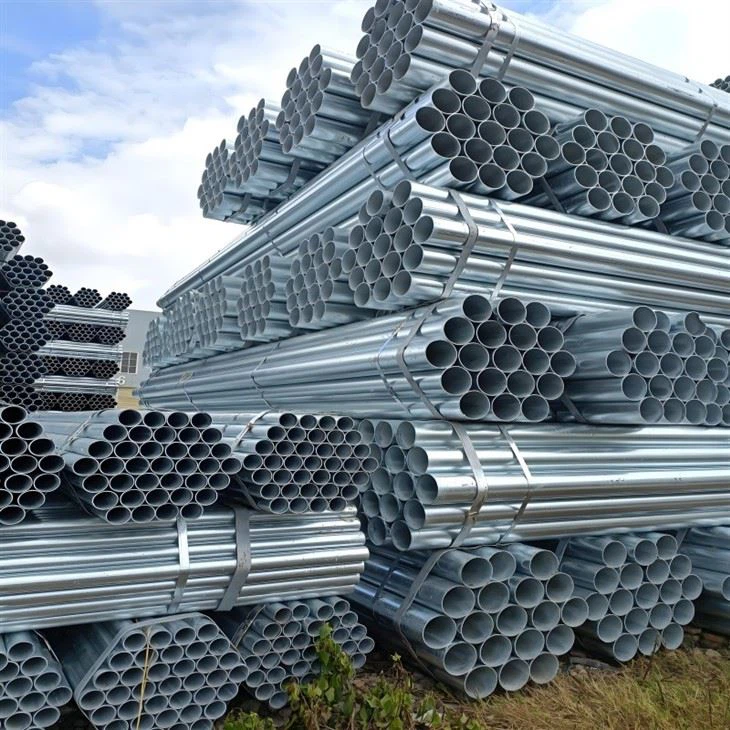
Next, select the appropriate type of embedded metal conduit for your project. We offer a variety of options, including Powder - coated Wire Conduit, Stainless Steel Liquid Tight Conduit, and Galvanized Rigid Metal Conduit. The choice depends on factors such as the environment, the type of wiring to be installed, and the level of protection required.

For example, if the area is prone to moisture, the Stainless Steel Liquid Tight Conduit would be an excellent choice as it provides a high level of protection against water ingress. On the other hand, if you need a conduit that is strong and can withstand mechanical stress, the Galvanized Rigid Metal Conduit might be more suitable.
Gather all the necessary tools and materials. You will need conduit benders, cutters, couplings, straps, and a measuring tape. Ensure that all the tools are in good working condition and that you have enough materials to complete the installation.
Conduit Cutting and Bending
Once you have your plan and materials ready, start by cutting the conduits to the appropriate lengths. Use a conduit cutter to make clean and precise cuts. Measure the lengths carefully according to your plan, and make sure to account for any bends or connections.
Bending the conduits is another important step. Use a conduit bender to create the required bends. The bends should be smooth and have the correct radius to allow for easy pulling of the wires later. When bending, be careful not to kink or damage the conduit. You can use a bending shoe or a bending spring to support the conduit during the bending process, especially for larger - diameter conduits.
Installation of Conduits
After cutting and bending the conduits, it's time to install them in the formwork. Secure the conduits to the formwork using straps or clips. Make sure the conduits are firmly attached and properly aligned according to your plan. The spacing between the conduits should also be in accordance with the relevant building codes.
Connect the conduits using couplings. Ensure that the connections are tight and secure to prevent any concrete from entering the conduits during the pouring process. You may need to use sealants or gaskets at the connections for added protection.
If you are installing multiple conduits, arrange them in an organized manner. This will not only make the wiring process easier but also ensure better aesthetics and compliance with safety standards.
Placement of Pull Wires
Before the concrete is poured, it is advisable to place pull wires inside the conduits. These wires will be used later to pull the actual electrical or communication wires through the conduits. Thread the pull wires through the entire length of the conduits, leaving enough slack at both ends for easy grasping.
Concrete Pouring
Once the conduits are installed and the pull wires are in place, it's time for the concrete pouring. During the pouring process, take extra care to avoid damaging the conduits. Make sure that the concrete is evenly distributed around the conduits and that there are no air pockets or voids.
Use a vibrator to ensure proper compaction of the concrete. This will help to eliminate any air bubbles and ensure that the concrete adheres well to the conduits. Be careful not to over - vibrate, as this may cause the conduits to shift or become misaligned.
Post - Pour Inspection
After the concrete has set, conduct a thorough inspection of the installed conduits. Check for any signs of damage or misalignment. Make sure that the pull wires are still intact and can be easily pulled. If you find any issues, address them immediately before proceeding with the wiring installation.
Wiring Installation
Once the inspection is complete and everything is in order, you can start the wiring installation. Use the pull wires to pull the electrical or communication wires through the conduits. Be careful not to damage the wires during the pulling process.
Make sure to follow the appropriate wiring codes and standards. Connect the wires to the outlets, switches, and other connection points as per your plan.
Final Checks
After the wiring is installed, perform a final check to ensure that everything is working properly. Test the electrical circuits or communication systems to verify their functionality. Check for any loose connections or short circuits.
Conclusion
Installing embedded metal conduit in a concrete slab requires careful planning, precise execution, and adherence to safety and building codes. By following the steps outlined above, you can ensure a successful installation.
As a leading supplier of embedded metal conduit, we are committed to providing high - quality products and excellent customer service. If you have any questions about our products or need further guidance on the installation process, we encourage you to contact us for procurement and further discussions. We look forward to working with you on your next project.
References
- National Electrical Code (NEC)
- International Building Code (IBC)
- Manufacturer's installation guides for embedded metal conduits